


Can I just say right away, I LOVE chalk boards!
They are so much fun!
They are helpful!
They are super cute, and shabby chic!
They entertain my daughter!
And they are fun to make!
To make one you are going to need a big mirror (or a big frame works great, too. Here's a tutorial for that if you are looking for one) that you are no longer using. I found this mirror and a dresser on Craigslist for $15. When we moved into our new home here in Texas I decided I didn't want to use the dresser anymore so that left this beautiful mirror. I actually painted this mirror white when I first got it so I didn't have to paint it today. I have been debating for at least a month about whether or not I wanted to paint this mirror into a chalkboard. I actually texted my mom in these exact words, "Hey Mom, would it be against like a house decorating code to paint this mirror and turn it into a chalk board? I was dead serious, too. Of course she said, "No, that would be so cute!"
I love mirrors because they add so much depth to a room and they can be really handy to help you open up a space. But I wasn't using this mirror in our house right now so I decided to go for it, and paint it into a chalkboard. I started by getting some painters tape, and some Rustoleum chalk spray paint. This spray paint is amazing!! I have been using it all of the time! Like I said, I have a thing for chalkboards.


Here's my favorite part, actually getting to spray paint the mirror. I got a little excited in a couple places and accidentally sprayed to much paint on a few areas. If you guys do this too, don't worry we can fix it. I just took a little paint brush and painted out the areas evenly were the paint was starting to run. I did this while the paint was still wet. Then on my second coat I was really cautious not to get any runs. And in the end you can't even see the areas that were running on the first coat.


After I painted the second coat of paint I let the chalk paint settle and dry overnight before I started to cure it.
You have to cure your chalkboard or else you will write one word on your chalkboard and you will have that word on there forever. Basically you want to get chalk into all of the nicks and crannies of your board so that when you write a word you will actually be able to wash it off. DO NOT SKIP THIS! If you skip this you will have to add a coat of paint over the word you tried and failed to wash off- if you don't want it to be stuck on it permanently.
So to cure it you just grab a piece of chalk and lay it on its side and rub it all over the chalkboard in one direction, and then do the same thing going the other direction. Once you have done that, I rub the chalk all over the board with my hand just to make sure I got the chalk all over it. Then you can wash it off and you are ready to start doodling!


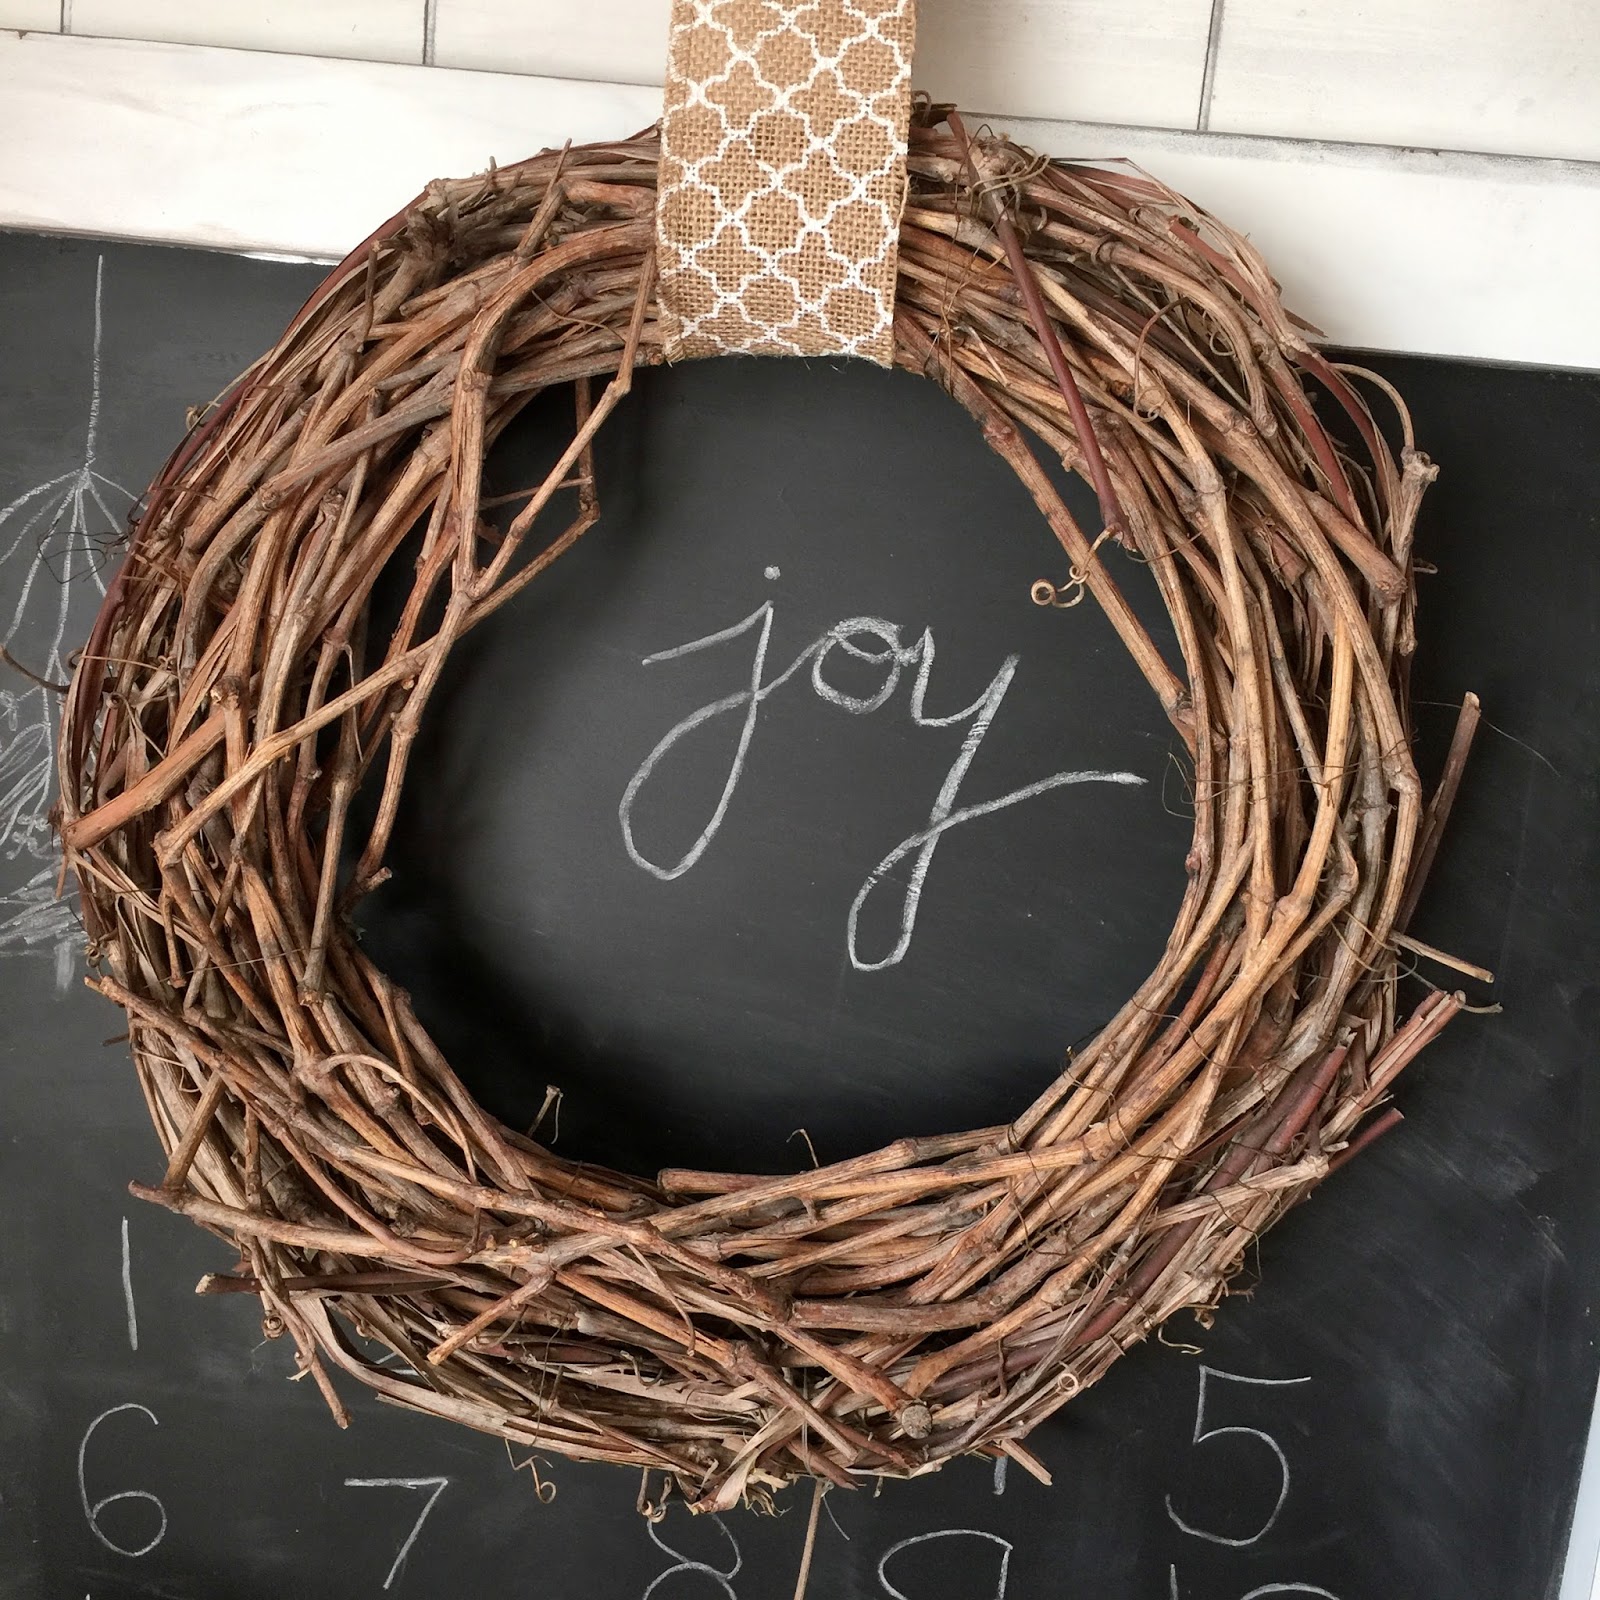


I am loving this little corner in my home! It is so cozy!
Pin for later!


Pin for later!


No comments:
Post a Comment