
I wasn't exactly positive what I wanted the jewelry hanger to look like, but I knew that I love the look of wood painted white so it looks very shabby chic, and I wanted to add some cute knobs.
So I gathered three pieces of wood that I thought looked good together and I placed a paint stick across all three pieces of wood and I nailed it into the wood. The nails were to long so I just nailed it to the side. Once I started making more of these to sale them I got smart and started using little screws instead of nails.

I also used wood glue on the three pieces of wood to glue them together wherever they touched. Just to make sure they stay together.

Then I painted it white. I only did two light coats.

It's time to make your knobs. I bought a bag of knobs from an antique shop that were already perfectly painted and distressed. So I used those on the one I made for my bedroom. I had quite a few people order a custom jewelry hanger for $25 so I bought a bunch of wood knobs, some metal ones, and I had a few from random previous projects.

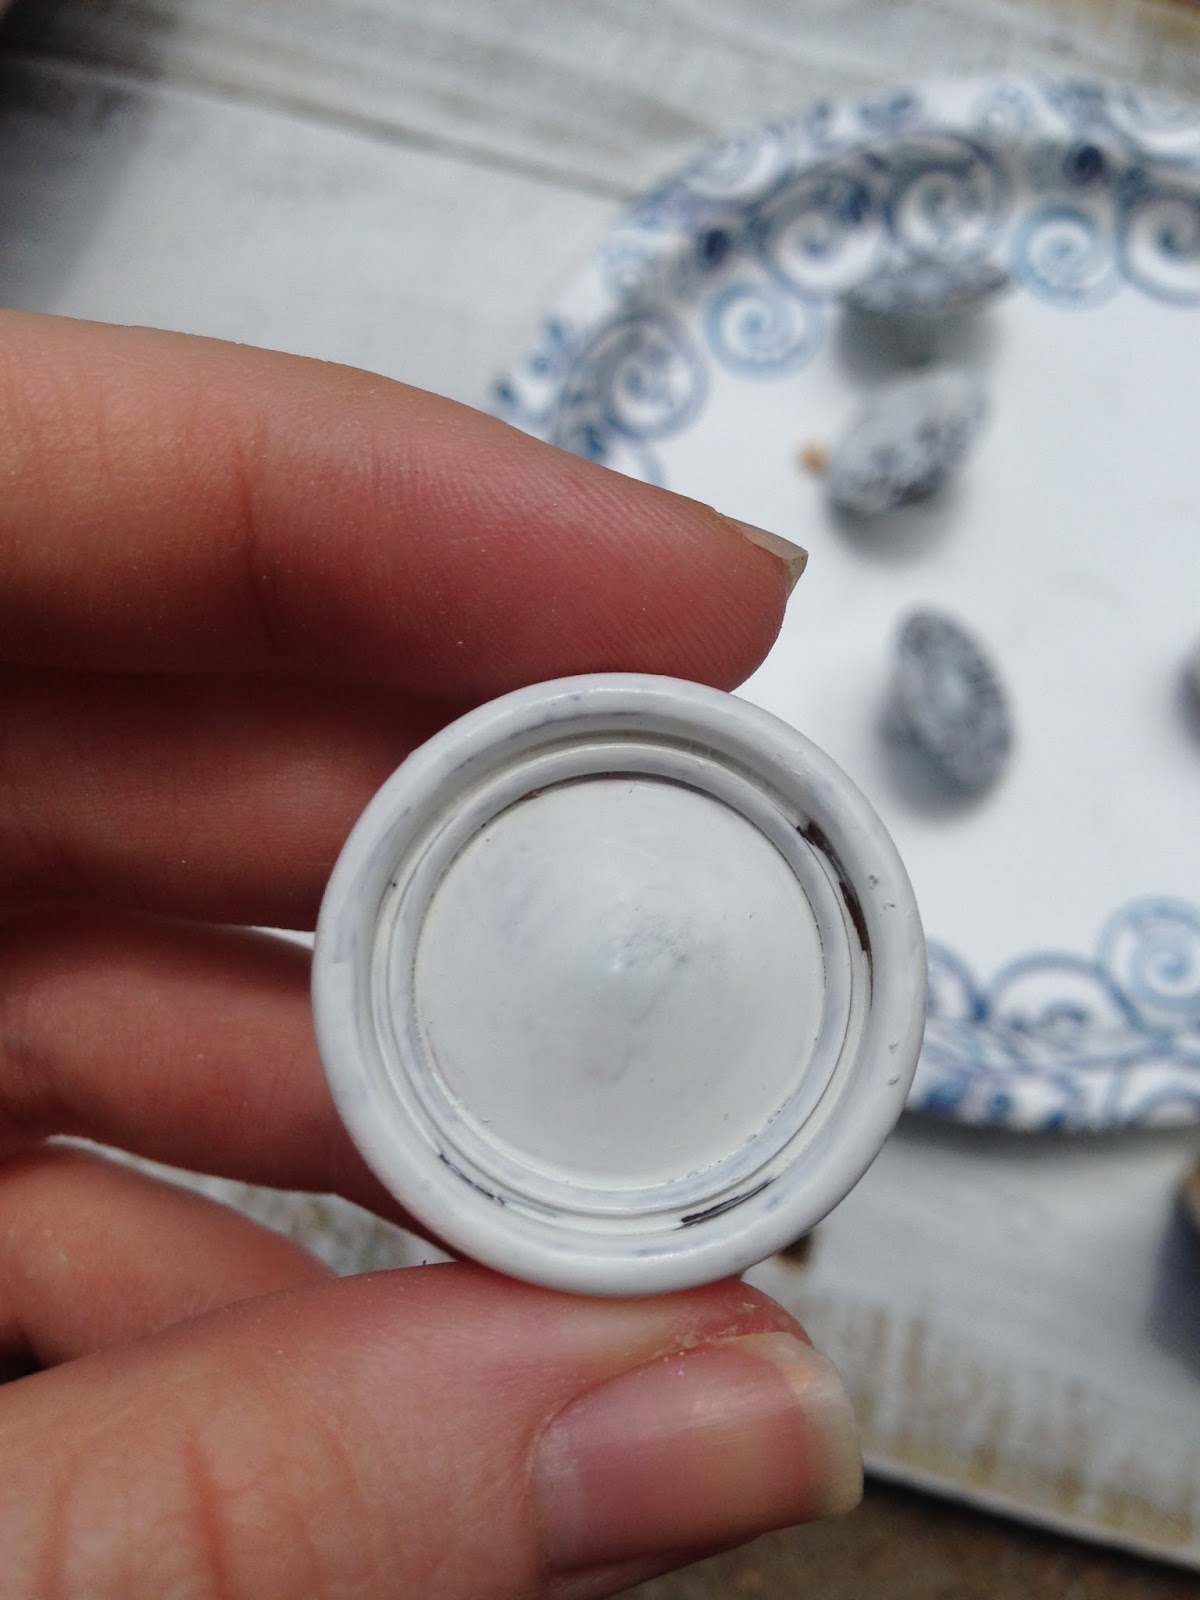
Pick whatever color you want for your knobs. Spray paint works amazing and quickly but I also did some hand painted. After you paint it go ahead and use some sand paper to distress it, if you like that look. Or the metal ones I used already had great detail so I just lightly went over them with a brush. Below you can see a couple examples.


After your knobs are painted and dry lay them out on your wood board to
find the spacing you want between them. Play around with a couple different layouts to find the
one you really love. Then screw your knobs into the wood.

Then you can add some personal touches to your jewelry hanger if you want to.
I added a bird that was used in our wedding.
And I also ended up using a ceramic egg as one of the knobs.
In some of my custom orders I painted on a bird,
and on another one I painted their initials on it.


This is the one that I had in our master bedroom. You can see more of that room, here.

Here is what my jewelry hanger looks like now. I ended up making one for Amelia's room, too!

I can't wait to share Amelia's full bedroom reveal with you guys!

These are great to use for your jewelry, but you can do so many things with them! If you make one, make sure you send me a picture of what you use it for. And if you want to order one just let me know in the comments below!

No comments:
Post a Comment