Whenever I do the hair and makeup for a wedding I always get dressed before I go. Because normally I have to be at the wedding site pretty early (like 7:30-8) to have enough time to get the bride's hair and makeup done. So, I figure that I won't have time to get ready after I do her hair and makeup before the wedding starts. Plus, if they take pictures then I won't look terrible! And, I will add too that I want this to become a side job so I want to be as professional as possible. So here's my OOTD.


I have everything I need in this denim bag!
Now onto the bride!
Here's the list of what we did in order.
We blow dried her hair
We put her hair into curlers
We did her makeup while the curlers set
Then we took the curlers out and did her hair.
I am telling you this because I want you to know the order of how we actually did everything because I am going to show you step-by-step now of her hair and her makeup separately.
Hair:

Lauren's hair is all in curlers!

This is Sam, she helped get the bridesmaids glammed up, and she did a
great job!


I took her hair out of the curlers and teased every curl
upwards. Her hair doesn't stay curled very well so I pulled
out all of the stops to keep those curls in! How pretty and
romantic do these curls look!

I grabbed a front section of her hair and began to braid
her hair pulling her hair towards the angel I wanted the braid at. Does
that make since?

Then I pulled the braid apart by pulling out the sections of the braid one
at a time. This gives the braid a really full look!
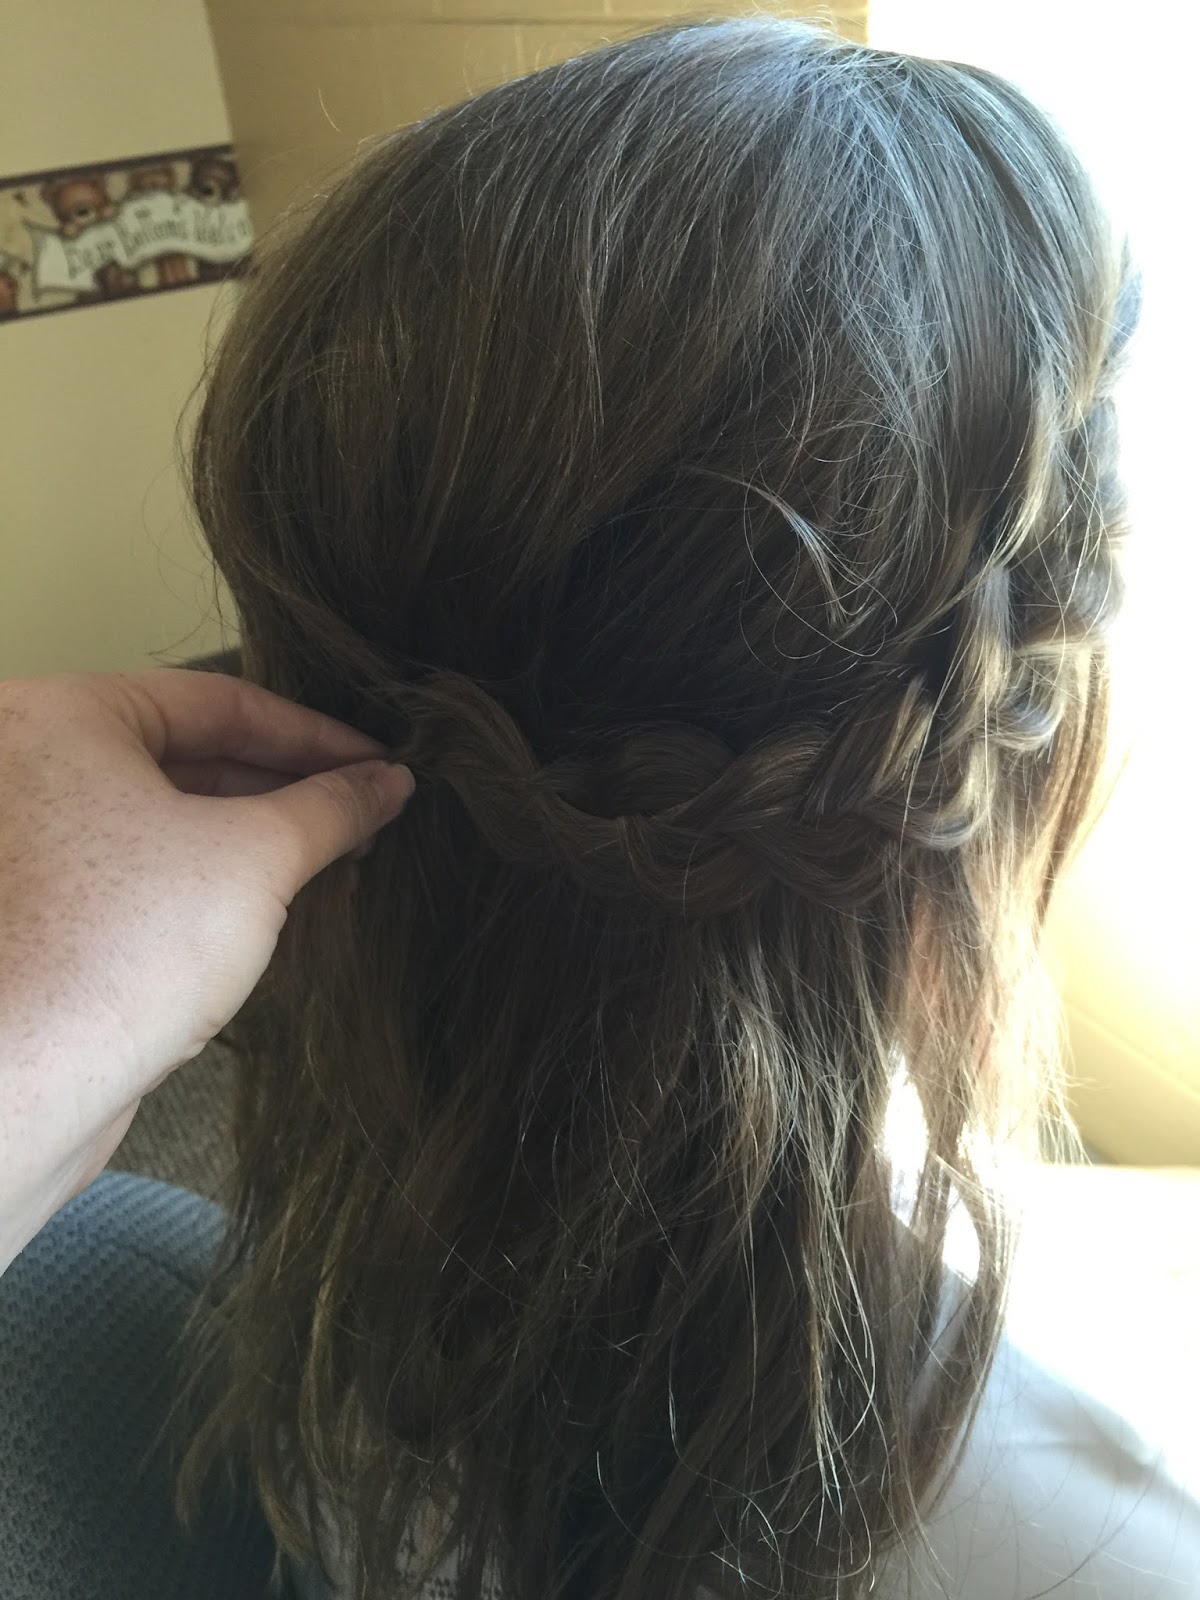
Then I teased the crown section of her hair to get a perfect bump.
Then I was able to keep the bump up with bobby pins. I hid the bobby
pins with the braid. And I secured the braid with bobby pins, hiding them under
the loops of the braid.


Here are a couple more angels. We didn't want a huge bump just one that added
to the look. It turned out perfectly!

I did the exact same thing to the other side.
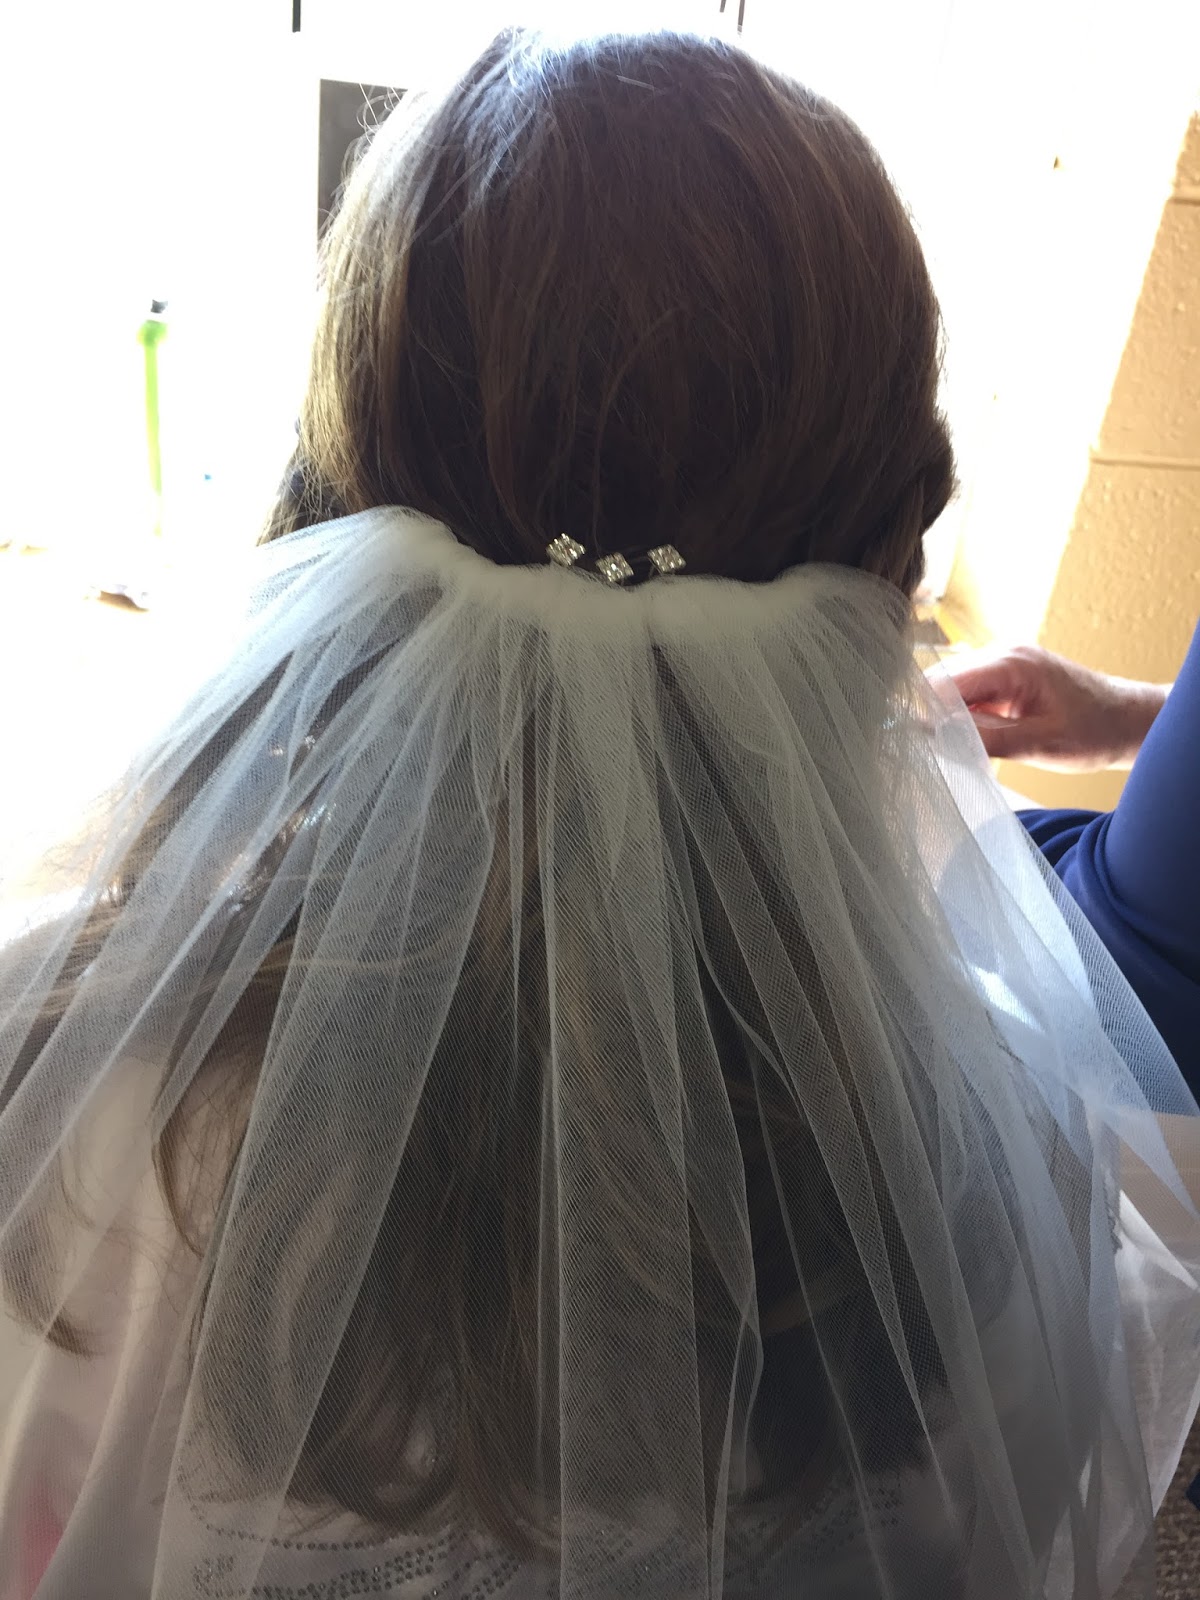
I tucked the ends of the second braid under the other braid and bobby pinned it down.

And my favorite part!


No comments:
Post a Comment